Installation
Step 1: Install the Plugin
Although it is a commercial plugin, you can download and test the plugin in your local environment before purchasing it.
Composer
The recommended way to install the plugin is via Composer. To install the plugin, run the following command in your terminal:
composer require johannschopplich/kirby-copilot
Download
Head over to the releases page and download the latest version of the plugin as a ZIP file. Extract the contents of this ZIP file to your site/plugins
folder. It should look like this:
site/plugins/
├─ kirby-copilot/
│ └─ … All plugin files
Step 2: AI Provider Configuration
Configure the AI provider by setting the API key and AI model in the global Kirby configuration. Each provider has its own configuration option. To get started with Google, create a new Google Gemini API key and add it to the configuration along with the AI model such as Gemini 2.5 Flash:
return [
'johannschopplich.copilot' => [
'provider' => 'google',
'providers' => [
'openai' => [
'model' => 'gemini-2.5-flash',
'apiKey' => 'YOUR_API_KEY'
]
]
]
];
Step 3: Usage
There is not only one, but three ways to use the Kirby Copilot plugin in the Panel:
- Panel View Button: Useful to generate multiple fields with a single prompt. Access the prompt dialog from anywhere in the Panel.
- Writer & Textarea Toolbar Button: Use the Copilot button in the toolbar of
writer
andtextarea
fields to generate content based on the selected text or the entire content of the field. - Copilot Section: Add a dedicated section to your blueprint to generate content for a specific field.
Panel View Button
Kirby 5 introduces new extensions that allow you to add custom view buttons to most Panel views (e.g. page, site, or file). The Copilot plugin provides a prompt button that can be added alongside the default buttons:

To add the copilot
button to a particular view, set the buttons
option in the corresponding blueprint. The following example shows how to reference the default buttons and add the copilot
button to the site
, pages
, and files
views:
buttons:
- copilot # Re-order the button as needed
- preview
- languages
buttons:
- copilot # Re-order the button as needed
- preview
- settings
- languages
- status
buttons:
- copilot # Re-order the button as needed
- preview
- settings
- languages
This allows you to reference the default buttons and decide where to place the copilot
button. When clicking it, the prompt dialog will open, allowing you to write instructions for the AI model and select the fields for which you want to generate content:
copilot
button has been backported 🎉. It is always prepended to all other Panel header buttons.Writer & Textarea Toolbar Button
Kirby Copilot provides a dedicated button for the Kirby writer
and textarea
fields. Open the prompt dialog with the keyboard shortcuts Cmd + .
(macOS) or Ctrl + .
(Windows/Linux) or by clicking the Copilot button in the toolbar. The selected text (if any) will be appended to the user prompt before sending it to the AI model.
To enable the button, add the copilot
button to the toolbar configuration:
fields:
# For writer fields
text01:
label: Text
type: writer
marks:
- copilot
# For textarea fields
text02:
label: Text
type: textarea
buttons:
- copilot
Section Blueprint
To display the Copilot section in the Kirby Panel, add a section of type copilot
to your blueprint:
sections:
copilot:
type: copilot
field: blocks
The only required section property is field
. This is the target field of the Kirby model that will be used to write the generated text to.
After adding the section, you can start using the plugin in the Kirby Panel. The accordion will be closed by default:

Click on the arrow to open the accordion and start entering your prompt:

Step 4: Buy a License
You can test the plugin locally. However, you need to purchase a license to use the plugin in production environments.
Visit the product page on Lemon Squeezy and purchase a license. Then, open any Panel page that contains the SEO Audit section. Click the Activate link to open the activation form:
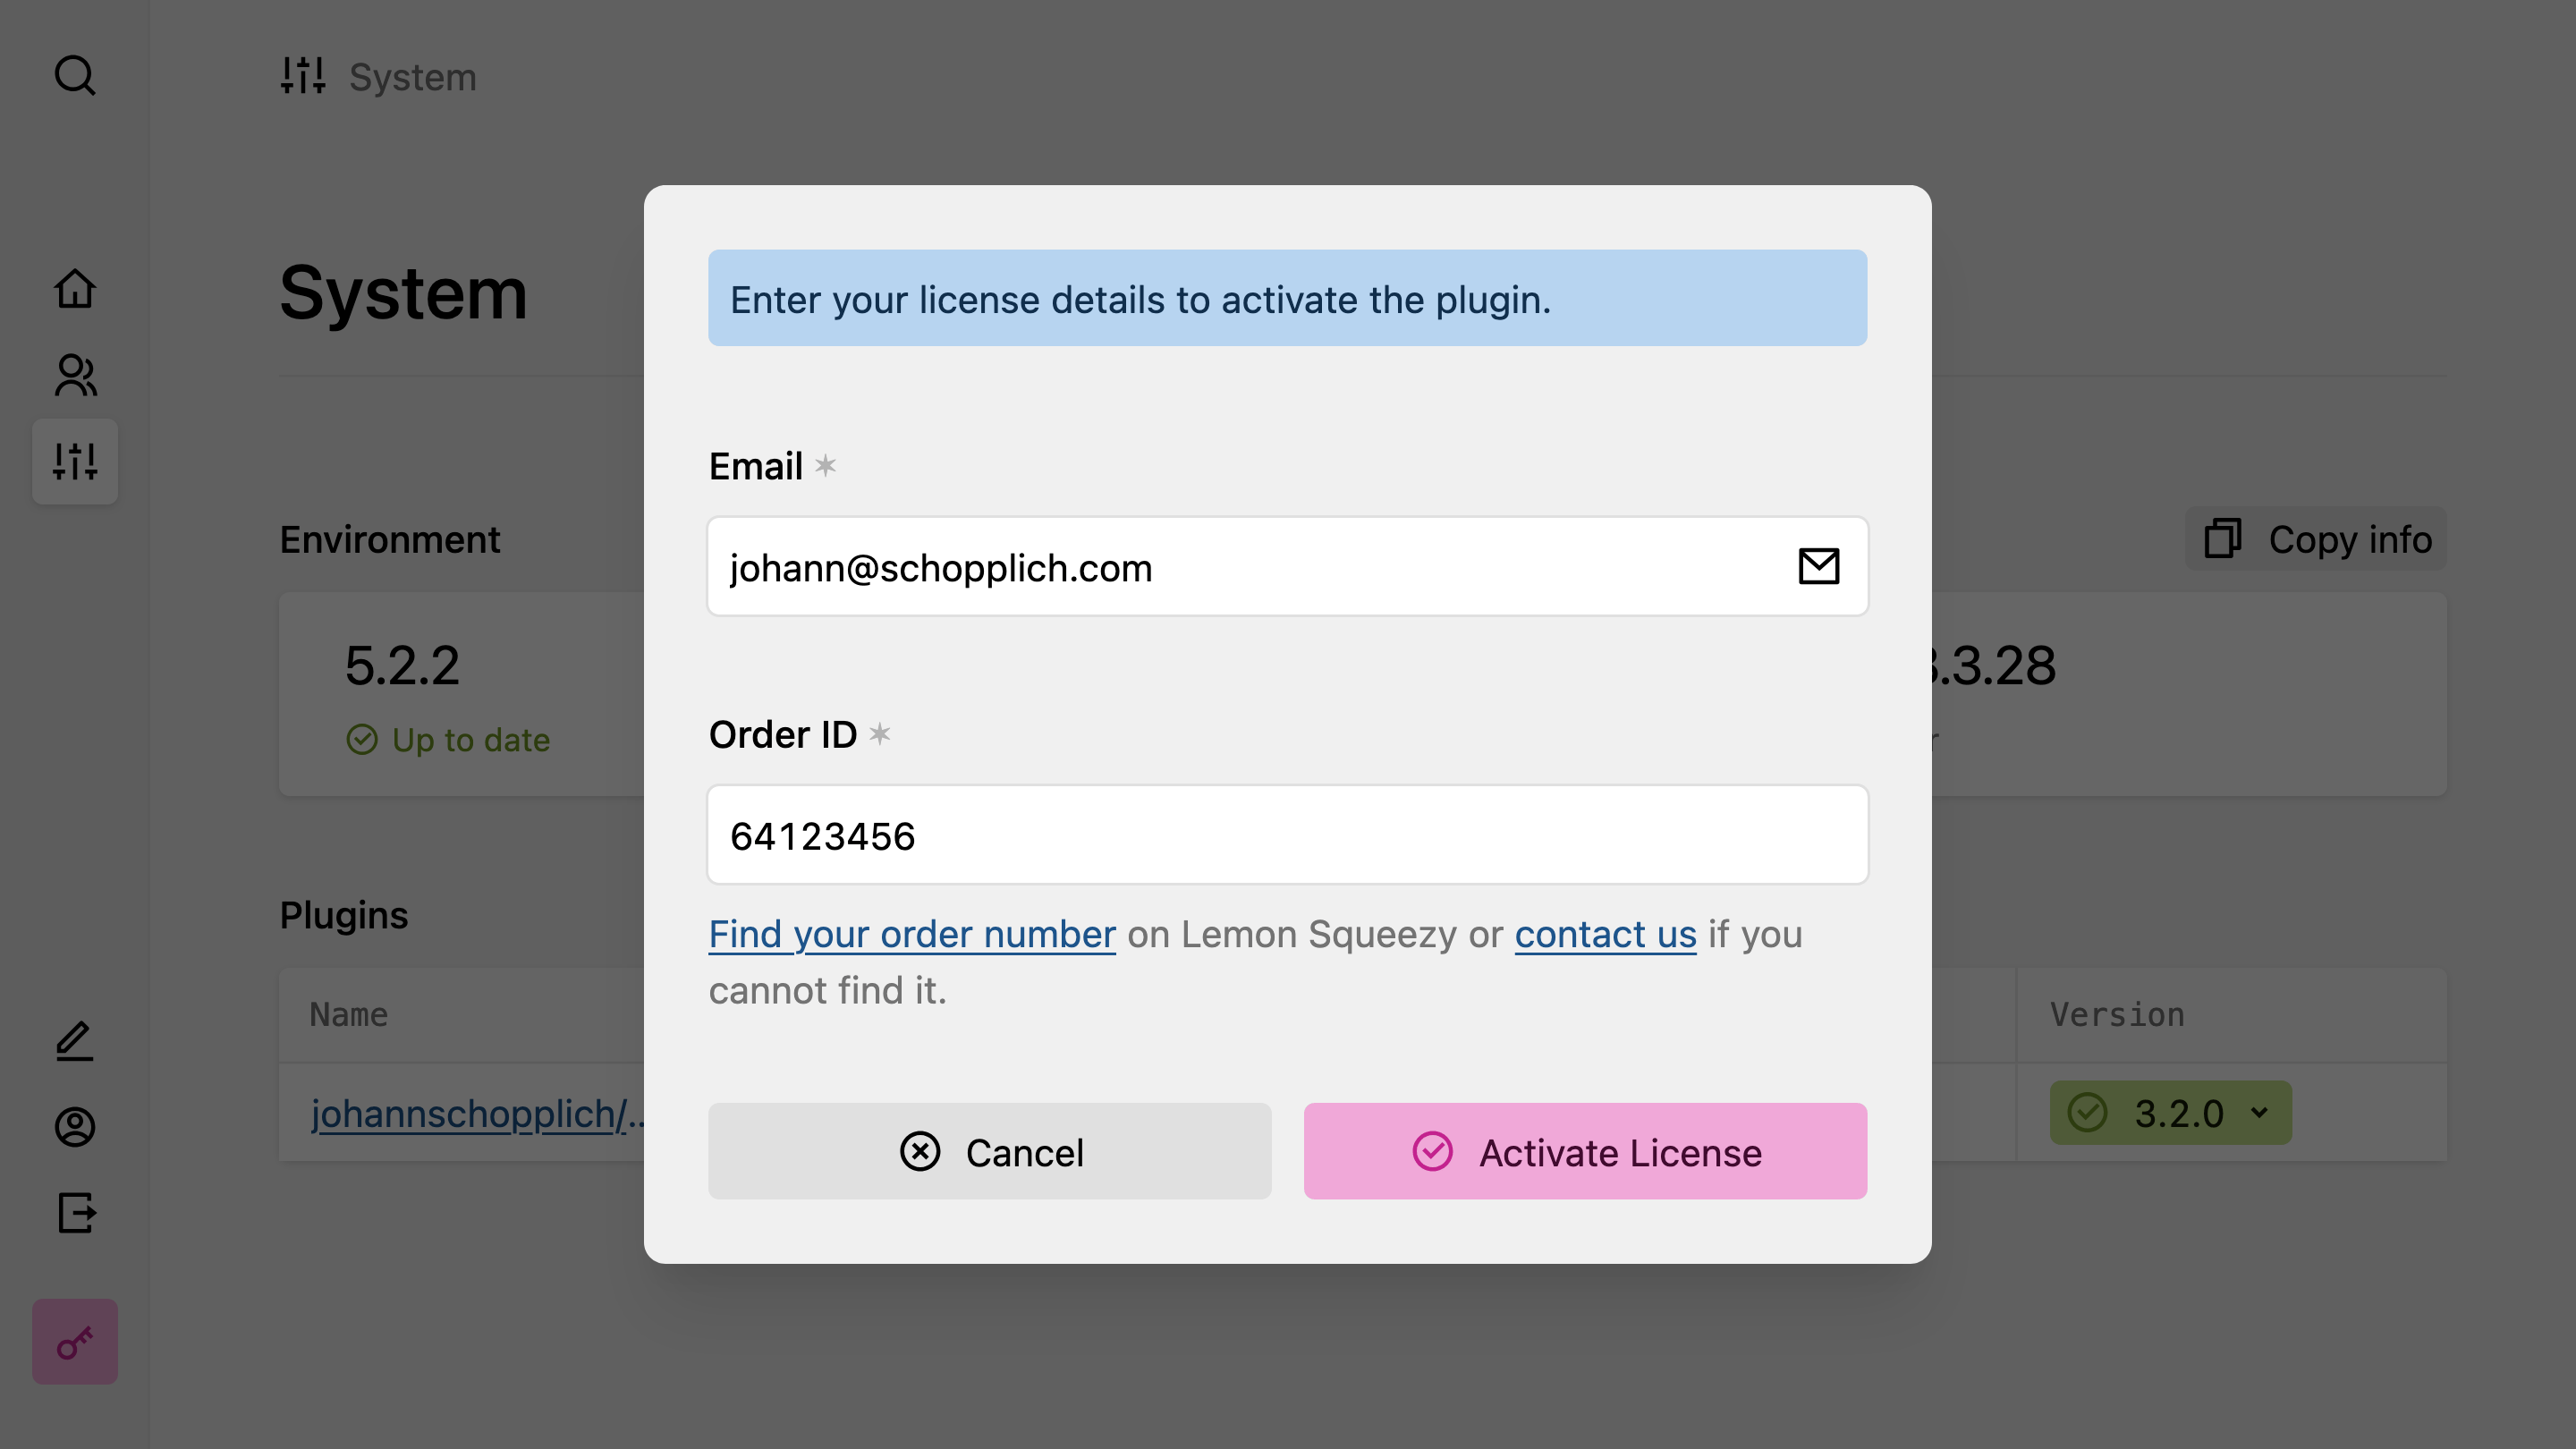
Enter the email you used for the purchase and the order number and hit the submit button. Done! Thanks for supporting our work. Once you activate your license, the license activation buttons will disappear.
/site/config/.kirby-tools-licenses
file. Make sure to add this file to your .gitignore
file to keep your license key private.