Getting Started
Kirby Live Preview is a plugin for Kirby CMS that adds a Panel section to render any page in an iframe – content updates as editors type. Navigate by clicking links inside the preview – the matching Panel view opens instead of the linked page. Pin the section sticky to keep it visible while editing blocks and other fields side-by-side.
Step 1: Install the Plugin
Although it is a commercial plugin, you can download and test it in your local environment before purchasing.
Composer
The recommended way to install the plugin:
composer require johannschopplich/kirby-live-preview
ZIP File Download
Download the latest version v2.6.2 or head over to the releases page to see all versions. Extract the ZIP file to your site/plugins folder.
Step 2: Blueprint Setup
Select a site or page blueprint to which you want to add the Live Preview section. Add the following section configuration to the blueprint file:
sections:
  livePreview:
    type: preview
Now, open the Panel and navigate to a page that uses the blueprint. You should see a new section called Live Preview with a list of clickable buttons:

Step 3: Customize the Live Preview
Fit the Live Preview section to your blueprint layout and customize it as needed. It can be part of any column and can be sticky. The latter is useful for previewing content changes side-by-side with blocks or other fields:
columns:
  - width: 2/3
    fields:
      blocks:
        type: blocks

  - width: 1/3
    # Make the preview sticky
    sticky: true
    sections:
      livePreview:
        type: preview
Now you see a rendering of the page content. It updates as you type:

Try navigating through the preview – if you click on a site link, such as in the header, the corresponding Panel page will open instead of the link in the preview.
Press S (macOS) / CTRL S (Windows/Linux) inside the preview to save the current page without leaving it.
For more configuration properties, see the Configuration guide.
Step 4: Buy a License
You can test the plugin locally. However, you need to purchase a license to use the plugin in production environments.
Visit the buy page and purchase a license. The easiest way to activate your license is to go to the system view in the Kirby Panel and click on Activate now:
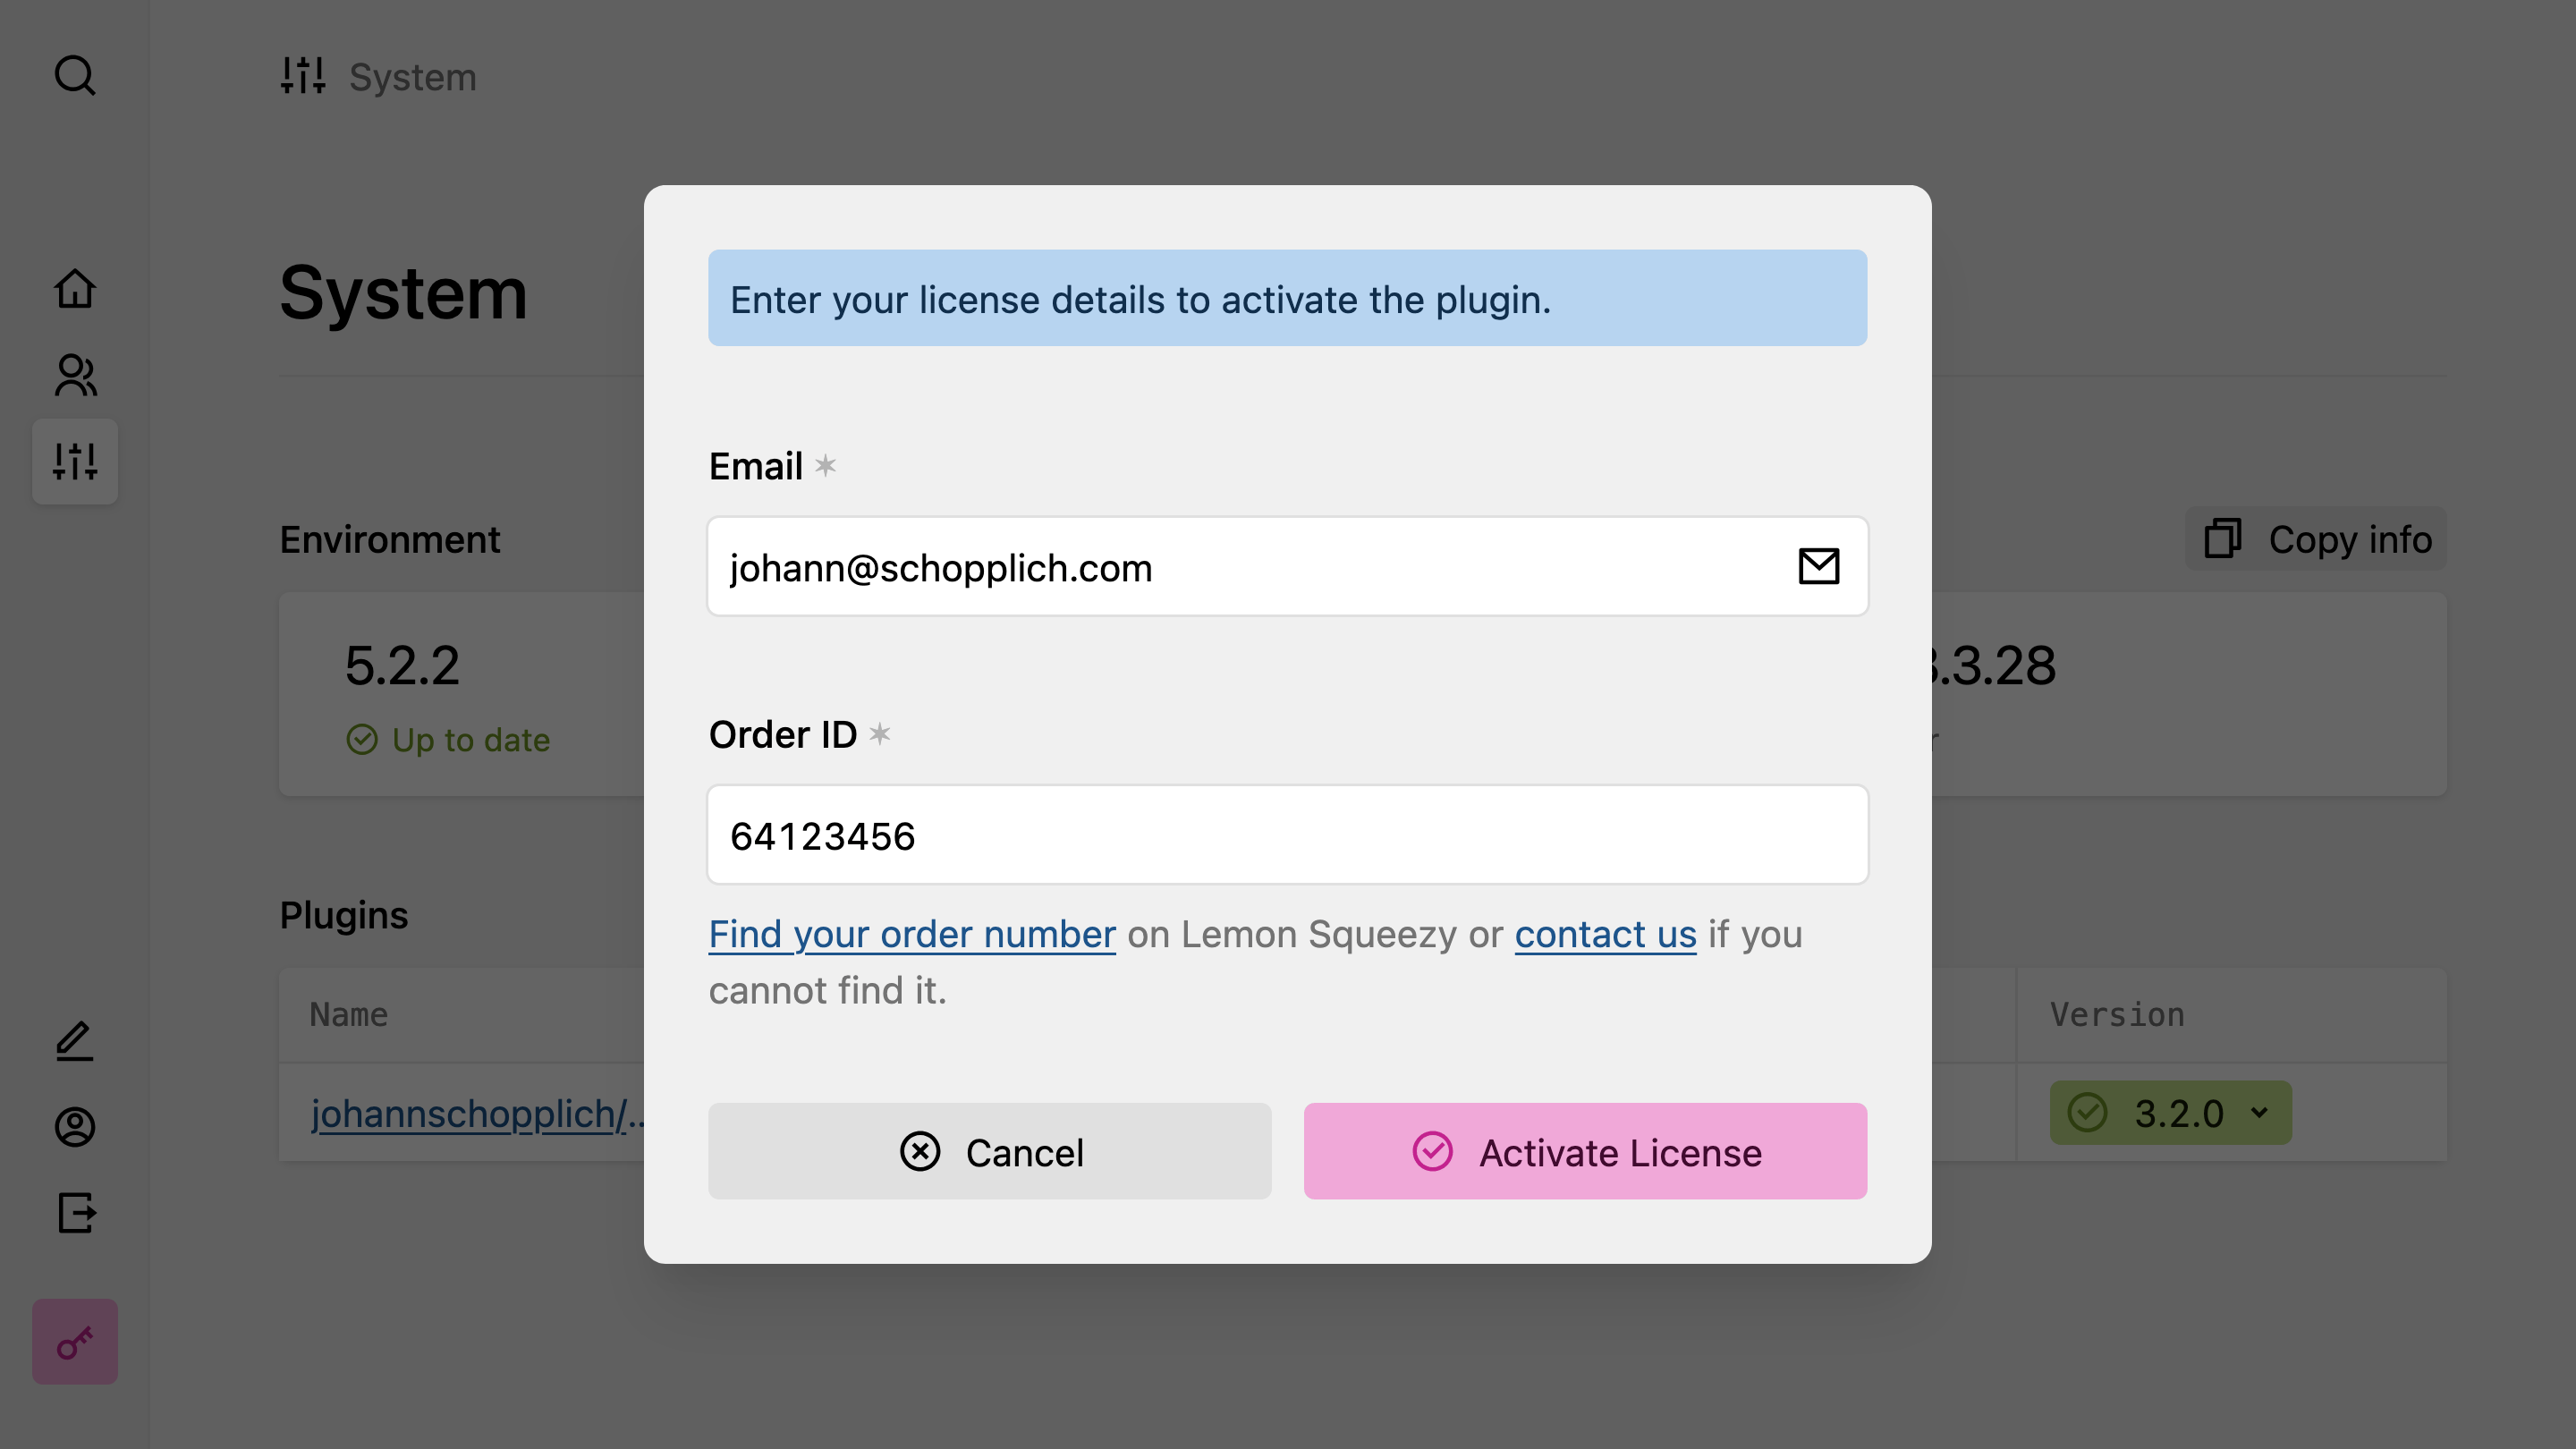
Enter the email you used for the purchase and the order number and hit the submit button. Done! Thanks for supporting our work. Once you activate your license, the license activation buttons will disappear.
/site/config/.kirby-tools-licenses. This file is created on first activation. Make sure to add it to your .gitignore to keep your license key private.