Installation
Step 1: Install the Plugin
Although it is a commercial plugin, you can download and test it in your local environment before purchasing.
Composer
The recommended way to install the plugin is via Composer. Run the following command in your terminal:
composer require johannschopplich/kirby-content-translator
ZIP File Download
Download the latest version v3.11.2 or head over to the releases page to see all versions. Extract the ZIP file to your site/plugins folder.
Step 2: Configure the Translation Provider
Content Translator requires at least one translation provider. Choose your preferred option:
DeepL
Create an account and generate an API key. DeepL offers a free tier – see DeepL API pricing for current limits.
return [
    'johannschopplich.content-translator' => [
        'DeepL' => [
            'apiKey' => '<deepl-api-key>'
        ]
    ]
];
AI Translation (Copilot)
Context-aware translation via the Kirby Copilot plugin – use your existing Copilot setup, no additional Content Translator configuration required.
return [
    'johannschopplich.copilot' => [
        'provider' => 'openai',
        'providers' => [
            'openai' => [
                'apiKey' => env('OPENAI_API_KEY')
            ]
        ]
    ]
];
Step 3: Choose Your Workflow
Kirby Content Translator offers two ways to add translation controls to the Panel. Both methods provide the same functionality and can be used together.
Step 4: Translate Your Content
Open the Panel and navigate to a page. The translation workflow depends on your current language:
In Secondary Languages
- Click Import to copy content from the default language to the current language.
- Click Translate to send the imported content to DeepL for translation.
In the Default Language
Click → All Languages to translate content to multiple languages at once. A dialog lets you select which target languages to include.
Step 5: Buy a License
You can test the plugin locally. However, you need to purchase a license to use the plugin in production environments.
Visit the buy page and purchase a license. The easiest way to activate your license is to go to the system view in the Kirby Panel and click on Activate now:
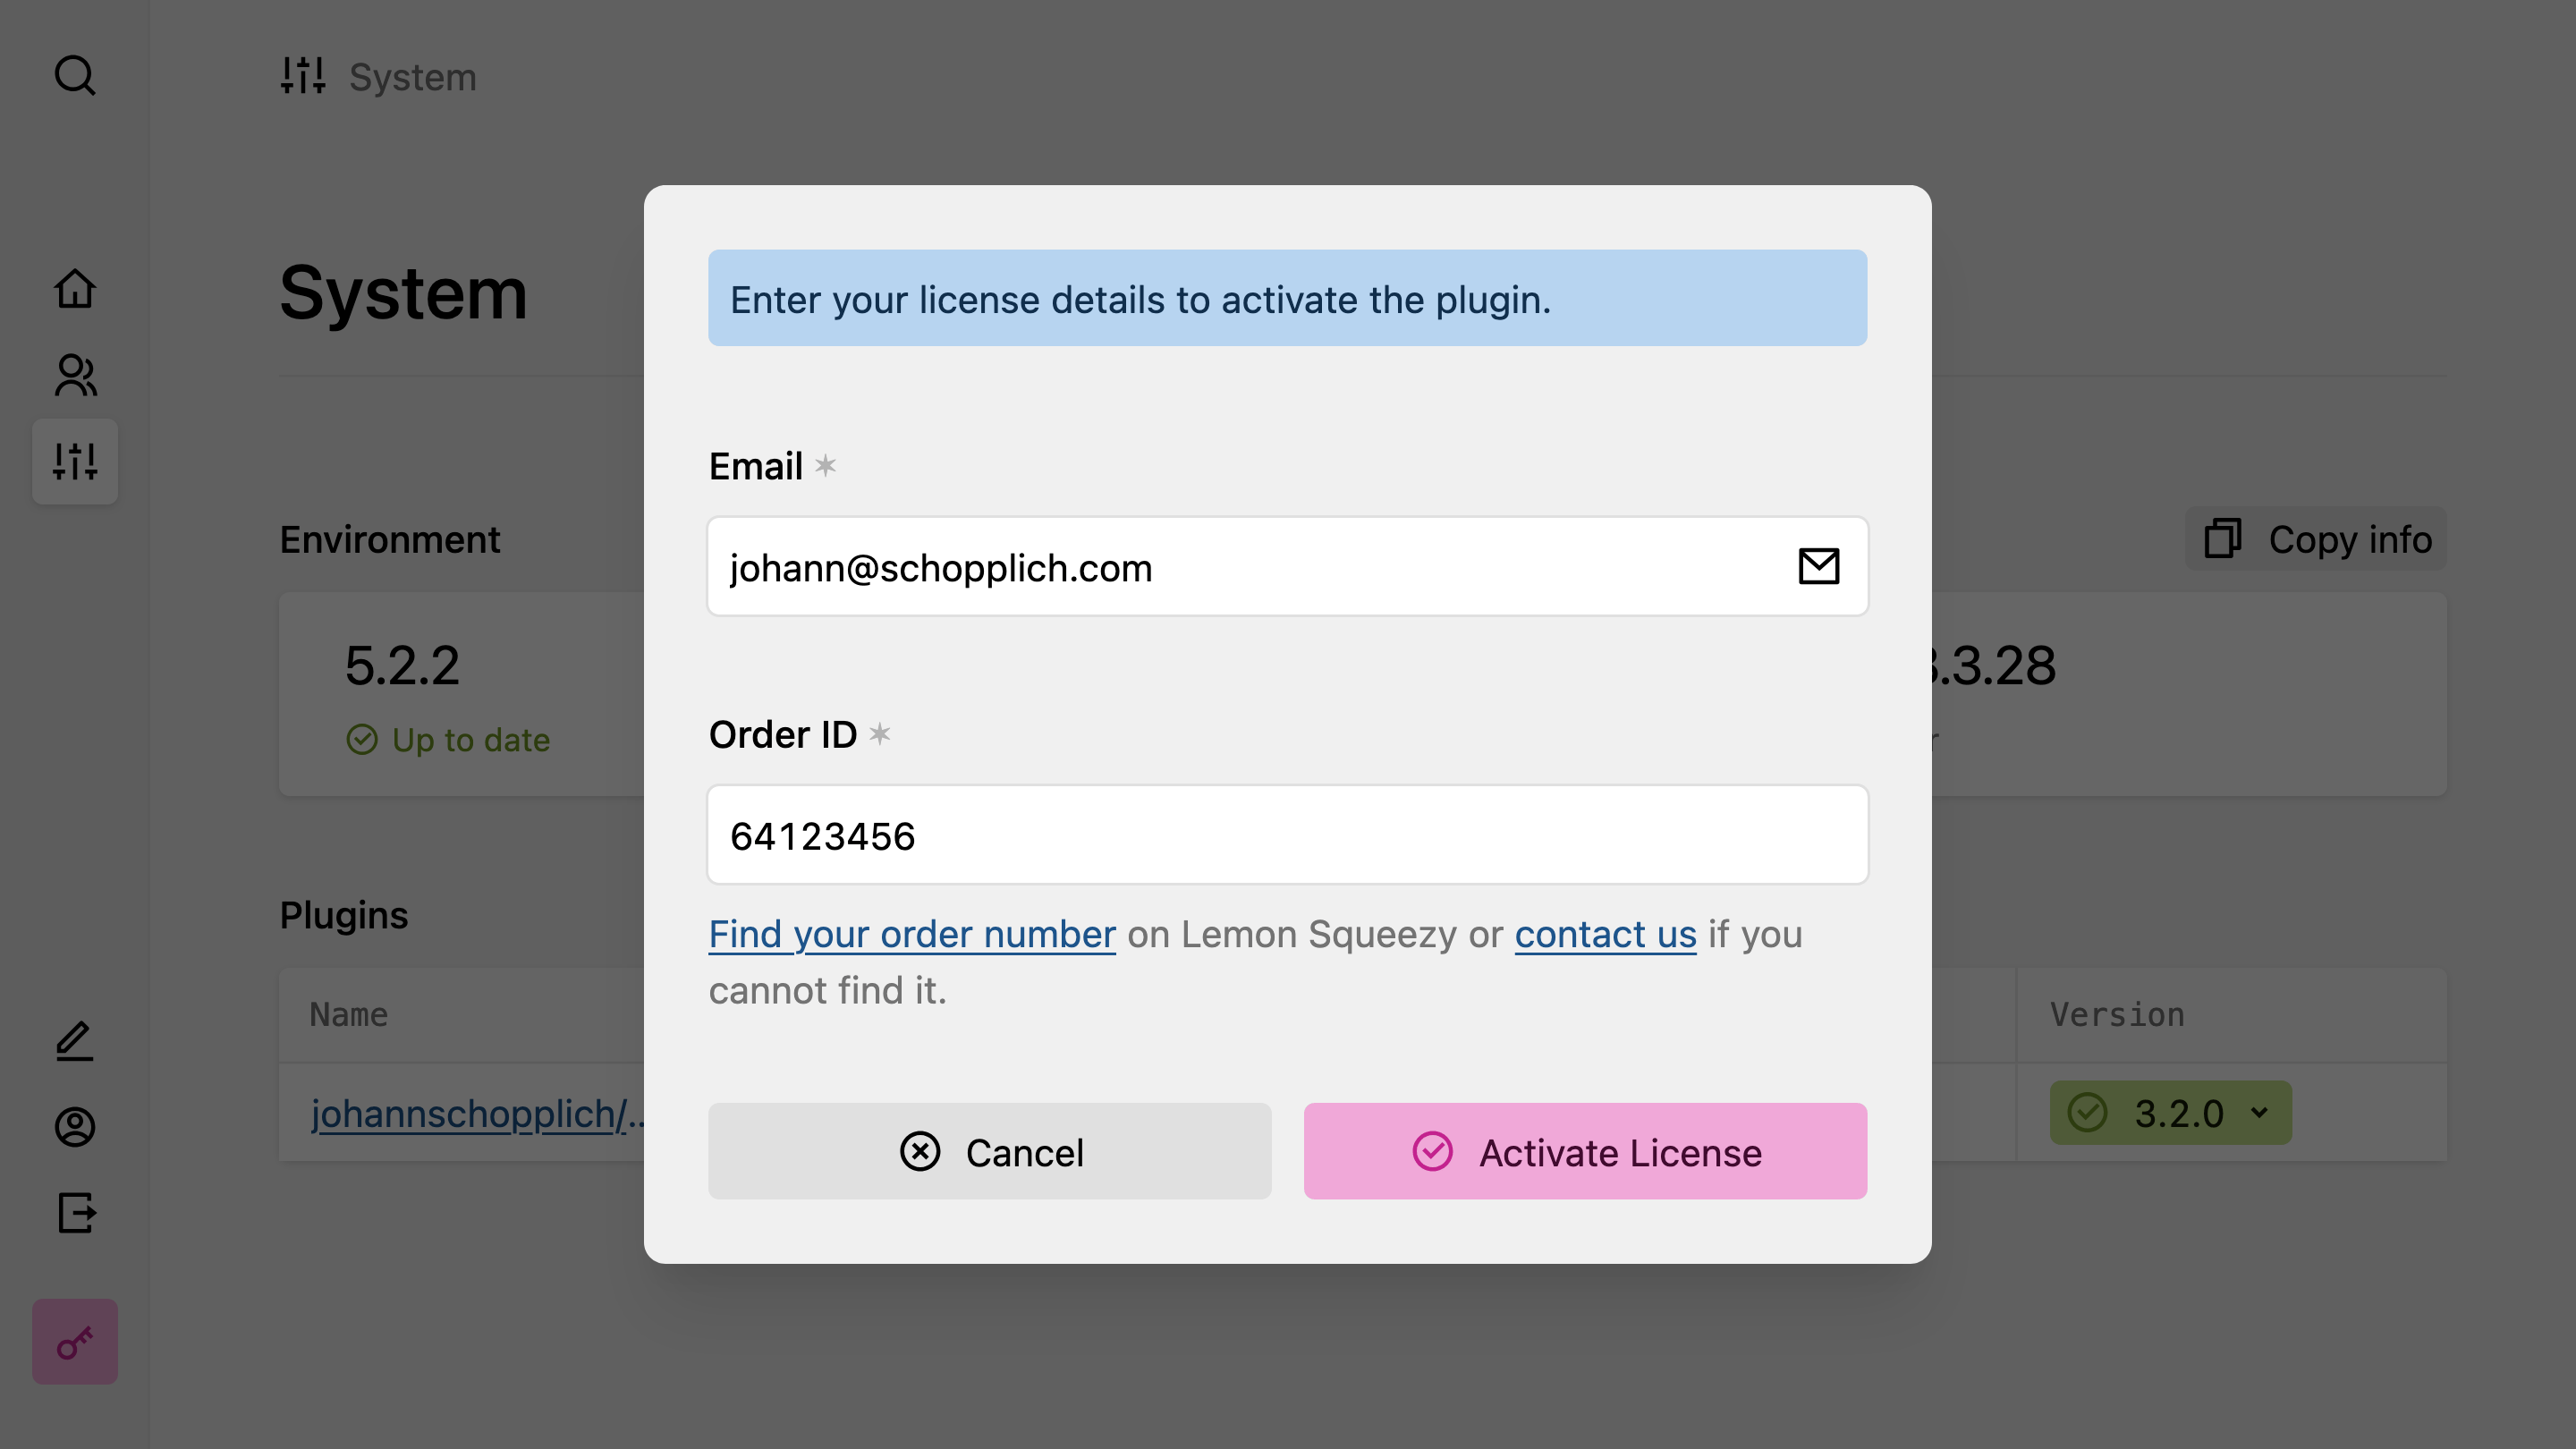
Enter the email you used for the purchase and the order number and hit the submit button. Done! Thanks for supporting our work. Once you activate your license, the license activation buttons will disappear.
/site/config/.kirby-tools-licenses. This file is created on first activation. Make sure to add it to your .gitignore to keep your license key private.