---
title: "Installation"
description: "Set up your AI provider, choose from four workflows, and activate your license – up and running in minutes."
canonical_url: "https://kirby.tools/docs/copilot/getting-started/installation"
---
# Installation
> Set up your AI provider, choose from four workflows, and activate your license – up and running in minutes.
## Step 1: Install the Plugin
Although it is a commercial plugin, you can download and test it in your local environment before purchasing.
The recommended way to install the plugin:
```bash
composer require johannschopplich/kirby-copilot
```
Download the
or head over to the [releases page](https://github.com/kirby-tools/kirby-copilot/releases) to see all versions. Extract the ZIP file to your `site/plugins` folder.
## Step 2: AI Provider Configuration
Configure the AI provider by setting the **API key** in the global Kirby configuration. The AI model is optional – [sensible defaults](/docs/copilot/advanced/reference#default-ai-models) are provided for each provider.
For example, to get started with Google Gemini, create a new [Google API key](https://aistudio.google.com/api-keys) and add it to the configuration:
```php [config.php]
return [
'johannschopplich.copilot' => [
'provider' => 'google',
'providers' => [
'google' => [
'model' => 'gemini-3.1-pro-preview',
'apiKey' => 'YOUR_API_KEY'
]
]
]
];
```
We recommend to create a unique API key for each project. This way, you can easily revoke access to the API key if needed.
## Step 3: Choose Your Workflow
Kirby Copilot offers four ways to generate content. Mix and match them as needed.
If you are unsure where to start, we recommend adding the `copilot` **view button** to your blueprint first.
Generate content for one field or **multiple fields at once** from any Panel view.
```yaml [pages/default.yml]
buttons:
- copilot # Choose position
- open # `buttons` replaces Kirby's
- preview # defaults, so list them all
- "-"
- settings
- languages
- status
```
In-context editing for **writer** and **textarea** fields with selected text support.
```yaml [Writer Field]
text:
type: writer
marks:
# Removes every other mark – see the guide
- copilot
- copilot-suggestions
```
```yaml [Textarea Field]
text:
type: textarea
buttons:
# Removes every other button – see the guide
- copilot
```
Ghost text suggestions appear after you pause typing in **writer** fields. Enabled by default.
Alternative to the Panel view button for single-field generation.
```yaml
copilotSection:
type: copilot
field: blocks
```
## Step 4: Buy a License
You can test the plugin locally. However, you need to purchase a license to use the plugin in production environments.
Visit the [buy page](/copilot/buy) and purchase a license. The easiest way to activate your license is to go to the system view in the Kirby Panel and click on **Activate now**:
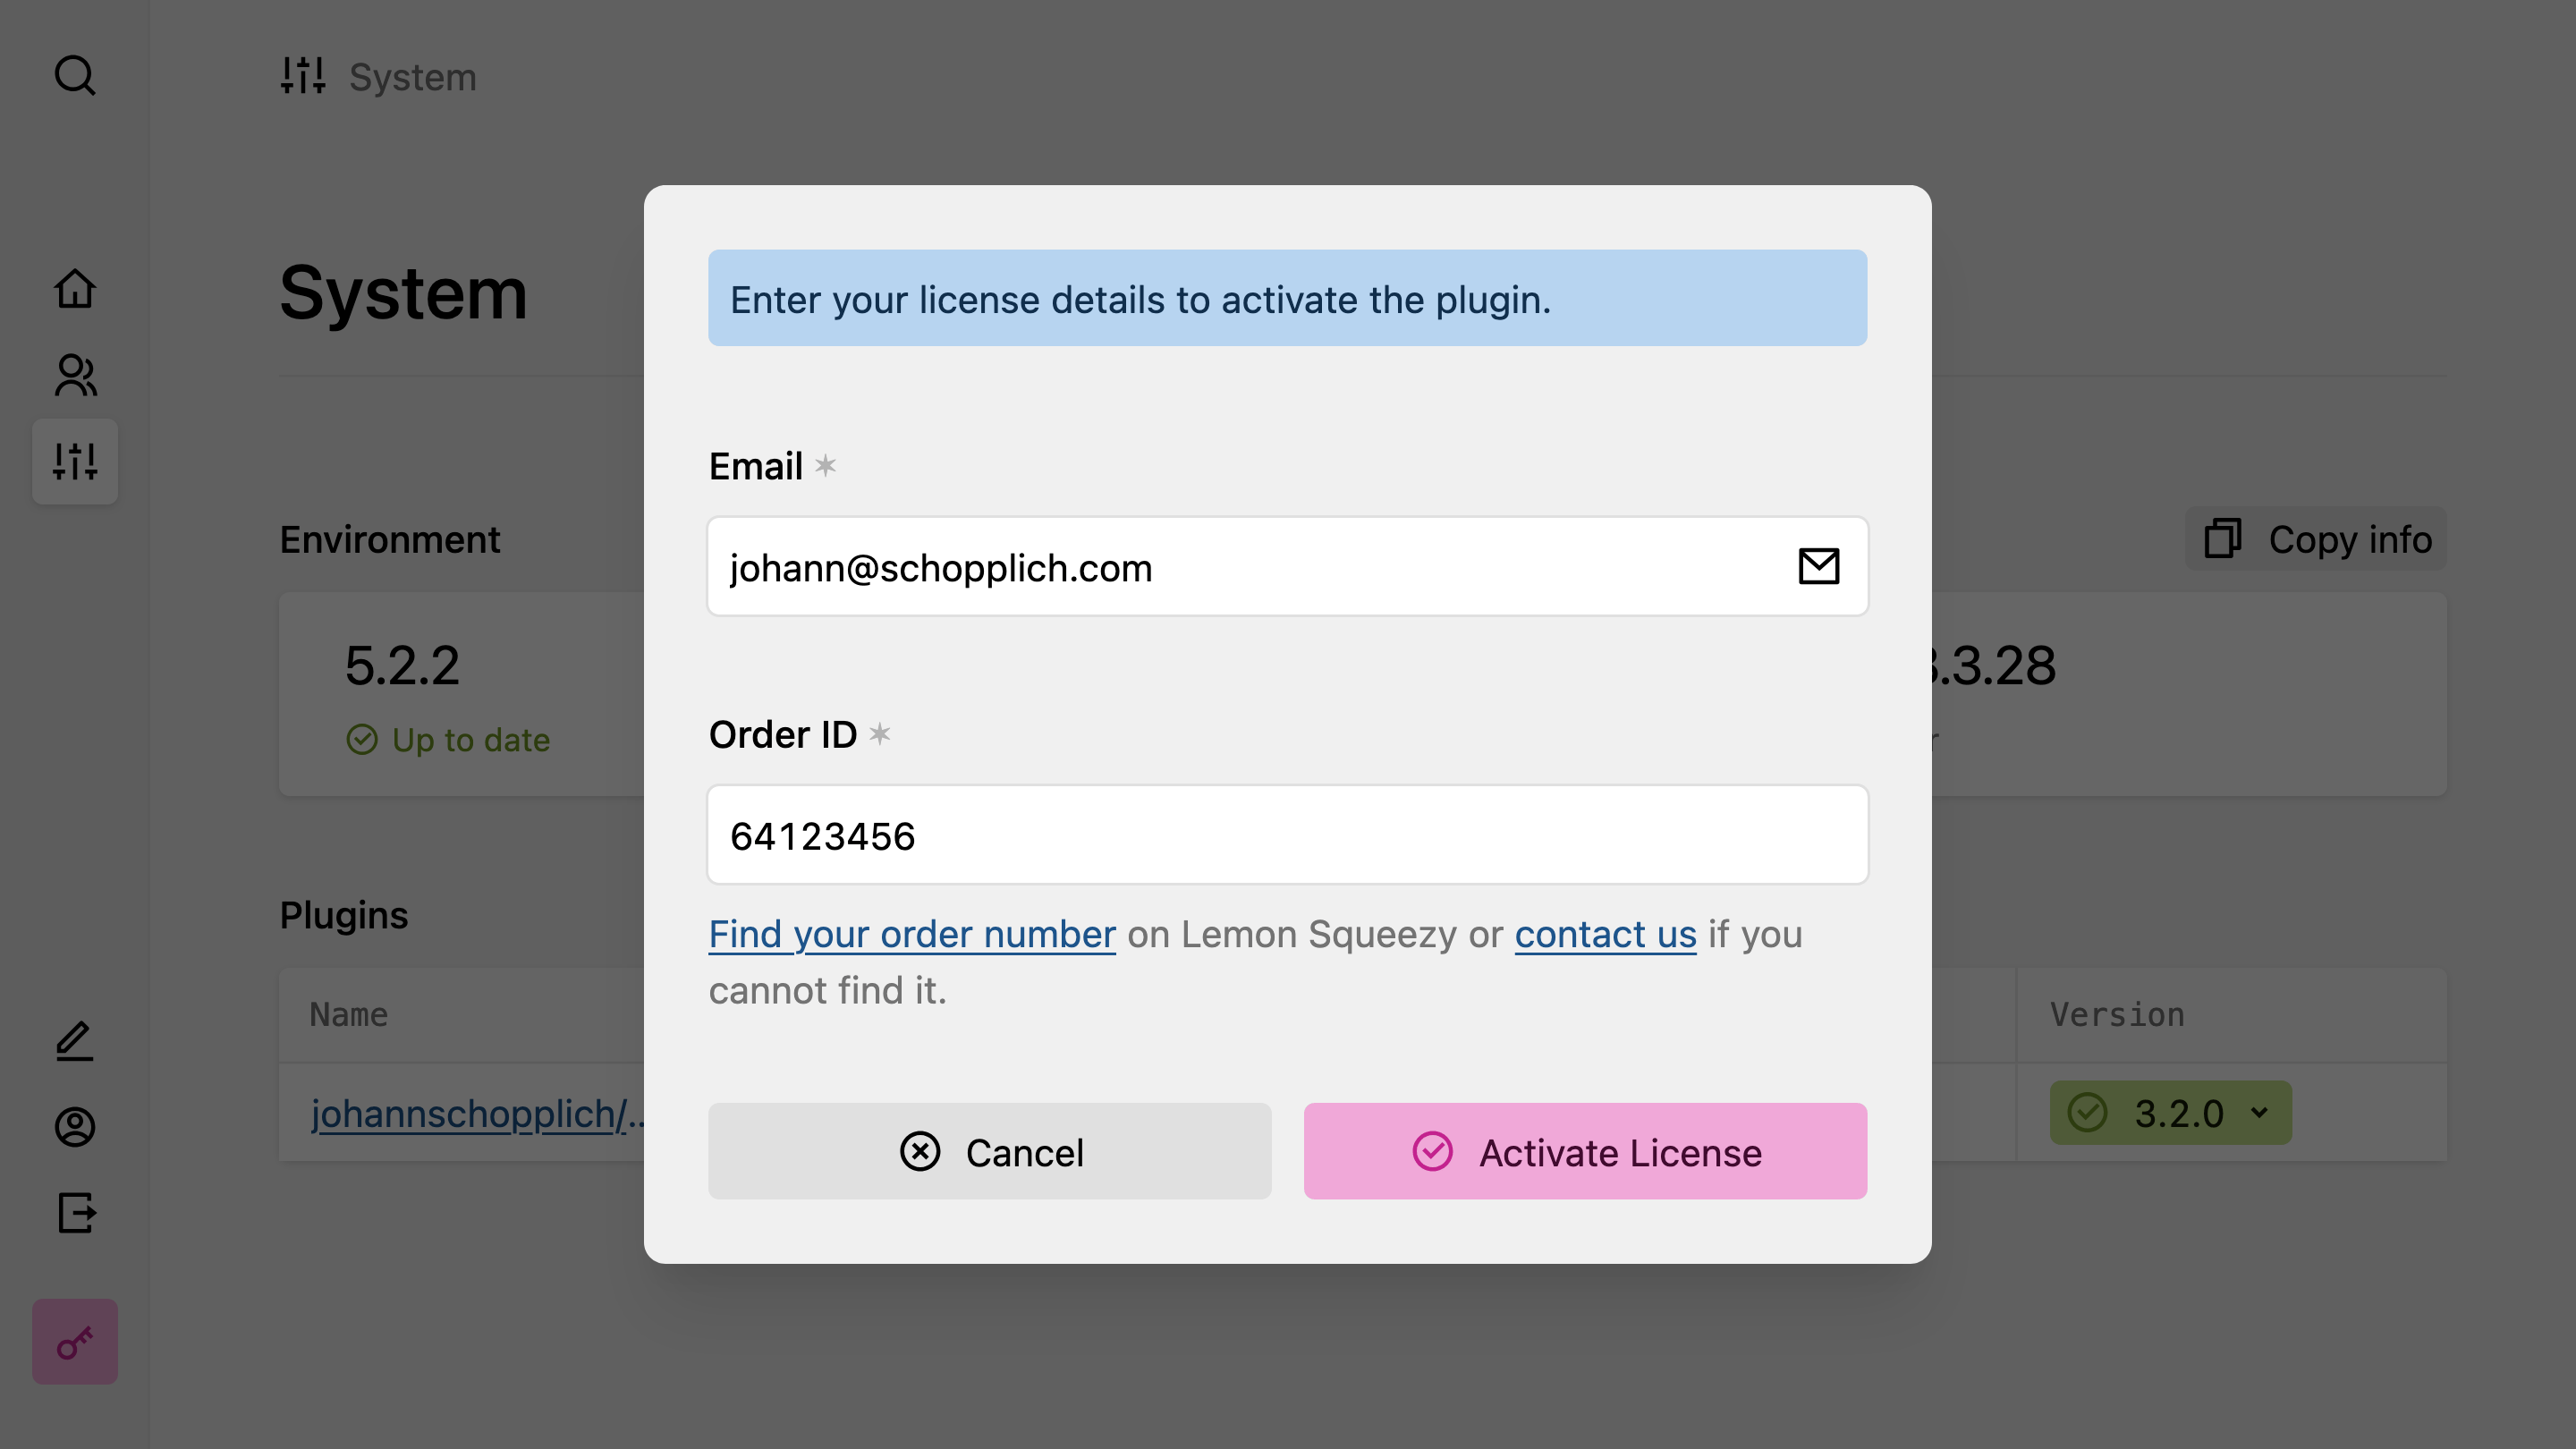
Enter the email you used for the purchase and your license key, then hit the submit button. You will find your license key in your order confirmation email or at [hub.kirby.tools](https://hub.kirby.tools). Done! Thanks for supporting our work. Once you activate your license, the license activation buttons will disappear.
Your license key will be stored automatically in `/site/config/.kirby-tools-licenses`. This file is created on first activation. Make sure to add it to your `.gitignore` to keep your license key private.
---
Every page of this site as Markdown: