---
title: "Installation"
description: "Set up DeepL or AI-powered translation, choose your Panel workflow, and start translating content in minutes."
canonical_url: "https://kirby.tools/docs/content-translator/getting-started/installation"
---
# Installation
> Set up DeepL or AI-powered translation, choose your Panel workflow, and start translating content in minutes.
## Step 1: Install the Plugin
Although it is a commercial plugin, you can download and test it in your local environment before purchasing.
The recommended way to install the plugin is via Composer. Run the following command in your terminal:
```bash
composer require johannschopplich/kirby-content-translator
```
Download the
or head over to the [releases page](https://github.com/kirby-tools/kirby-content-translator/releases) to see all versions. Extract the ZIP file to your `site/plugins` folder.
## Step 2: Configure the Translation Provider
Content Translator requires at least one translation provider. Choose your preferred option:
[Create an account](https://www.deepl.com/pro-api) and [generate an API key](https://www.deepl.com/your-account/keys). DeepL offers a free tier – see [DeepL API pricing](https://www.deepl.com/pro-api) for current limits.
```php [config.php]
return [
'johannschopplich.content-translator' => [
'DeepL' => [
'apiKey' => ''
]
]
];
```
Context-aware translation via the [Kirby Copilot](/copilot) plugin – use your existing Copilot setup, no additional Content Translator configuration required.
```php [config.php]
return [
'johannschopplich.copilot' => [
'provider' => 'openai',
'providers' => [
'openai' => [
'apiKey' => env('OPENAI_API_KEY')
]
]
]
];
```
Configure both providers to get a selection dialog when translating, letting you choose DeepL or AI per request.
## Step 3: Choose Your Workflow
Kirby Content Translator offers two ways to add translation controls to the Panel. Both run the same translation and can be used together – only the section accepts a `systemPrompt`.
Add a translation dropdown to the Panel **toolbar** for quick access from any view.
```yaml [pages/default.yml]
buttons:
- open # `buttons` replaces Kirby's
- preview # defaults, so list them all
- "-"
- settings
- content-translator # Choose position
- languages
- status
```
Alternative display with translation controls inline within the page content.
```yaml
contentTranslator:
type: content-translator
```
## Step 4: Translate Your Content
Open the Panel and navigate to a page. The translation workflow depends on your current language:
### In Secondary Languages
1. Click **Import** to copy content from the default language to the current language.
2. Click **Translate** to send the imported content through your configured provider.
*Import* copies the raw content, then *Translate* sends it through the configured provider – so you can review the copy first, or skip translating content that doesn't need it.
### In the Default Language
Click ** → All Languages** to translate content to multiple languages at once. A dialog lets you select which target languages to include.
By default, all text-like fields are translated. Customize which fields, types, and behaviors apply in the Configuration Guide.
## Step 5: Buy a License
You can test the plugin locally. However, you need to purchase a license to use the plugin in production environments.
Visit the [buy page](/content-translator/buy) and purchase a license. The easiest way to activate your license is to go to the system view in the Kirby Panel and click on **Activate now**:
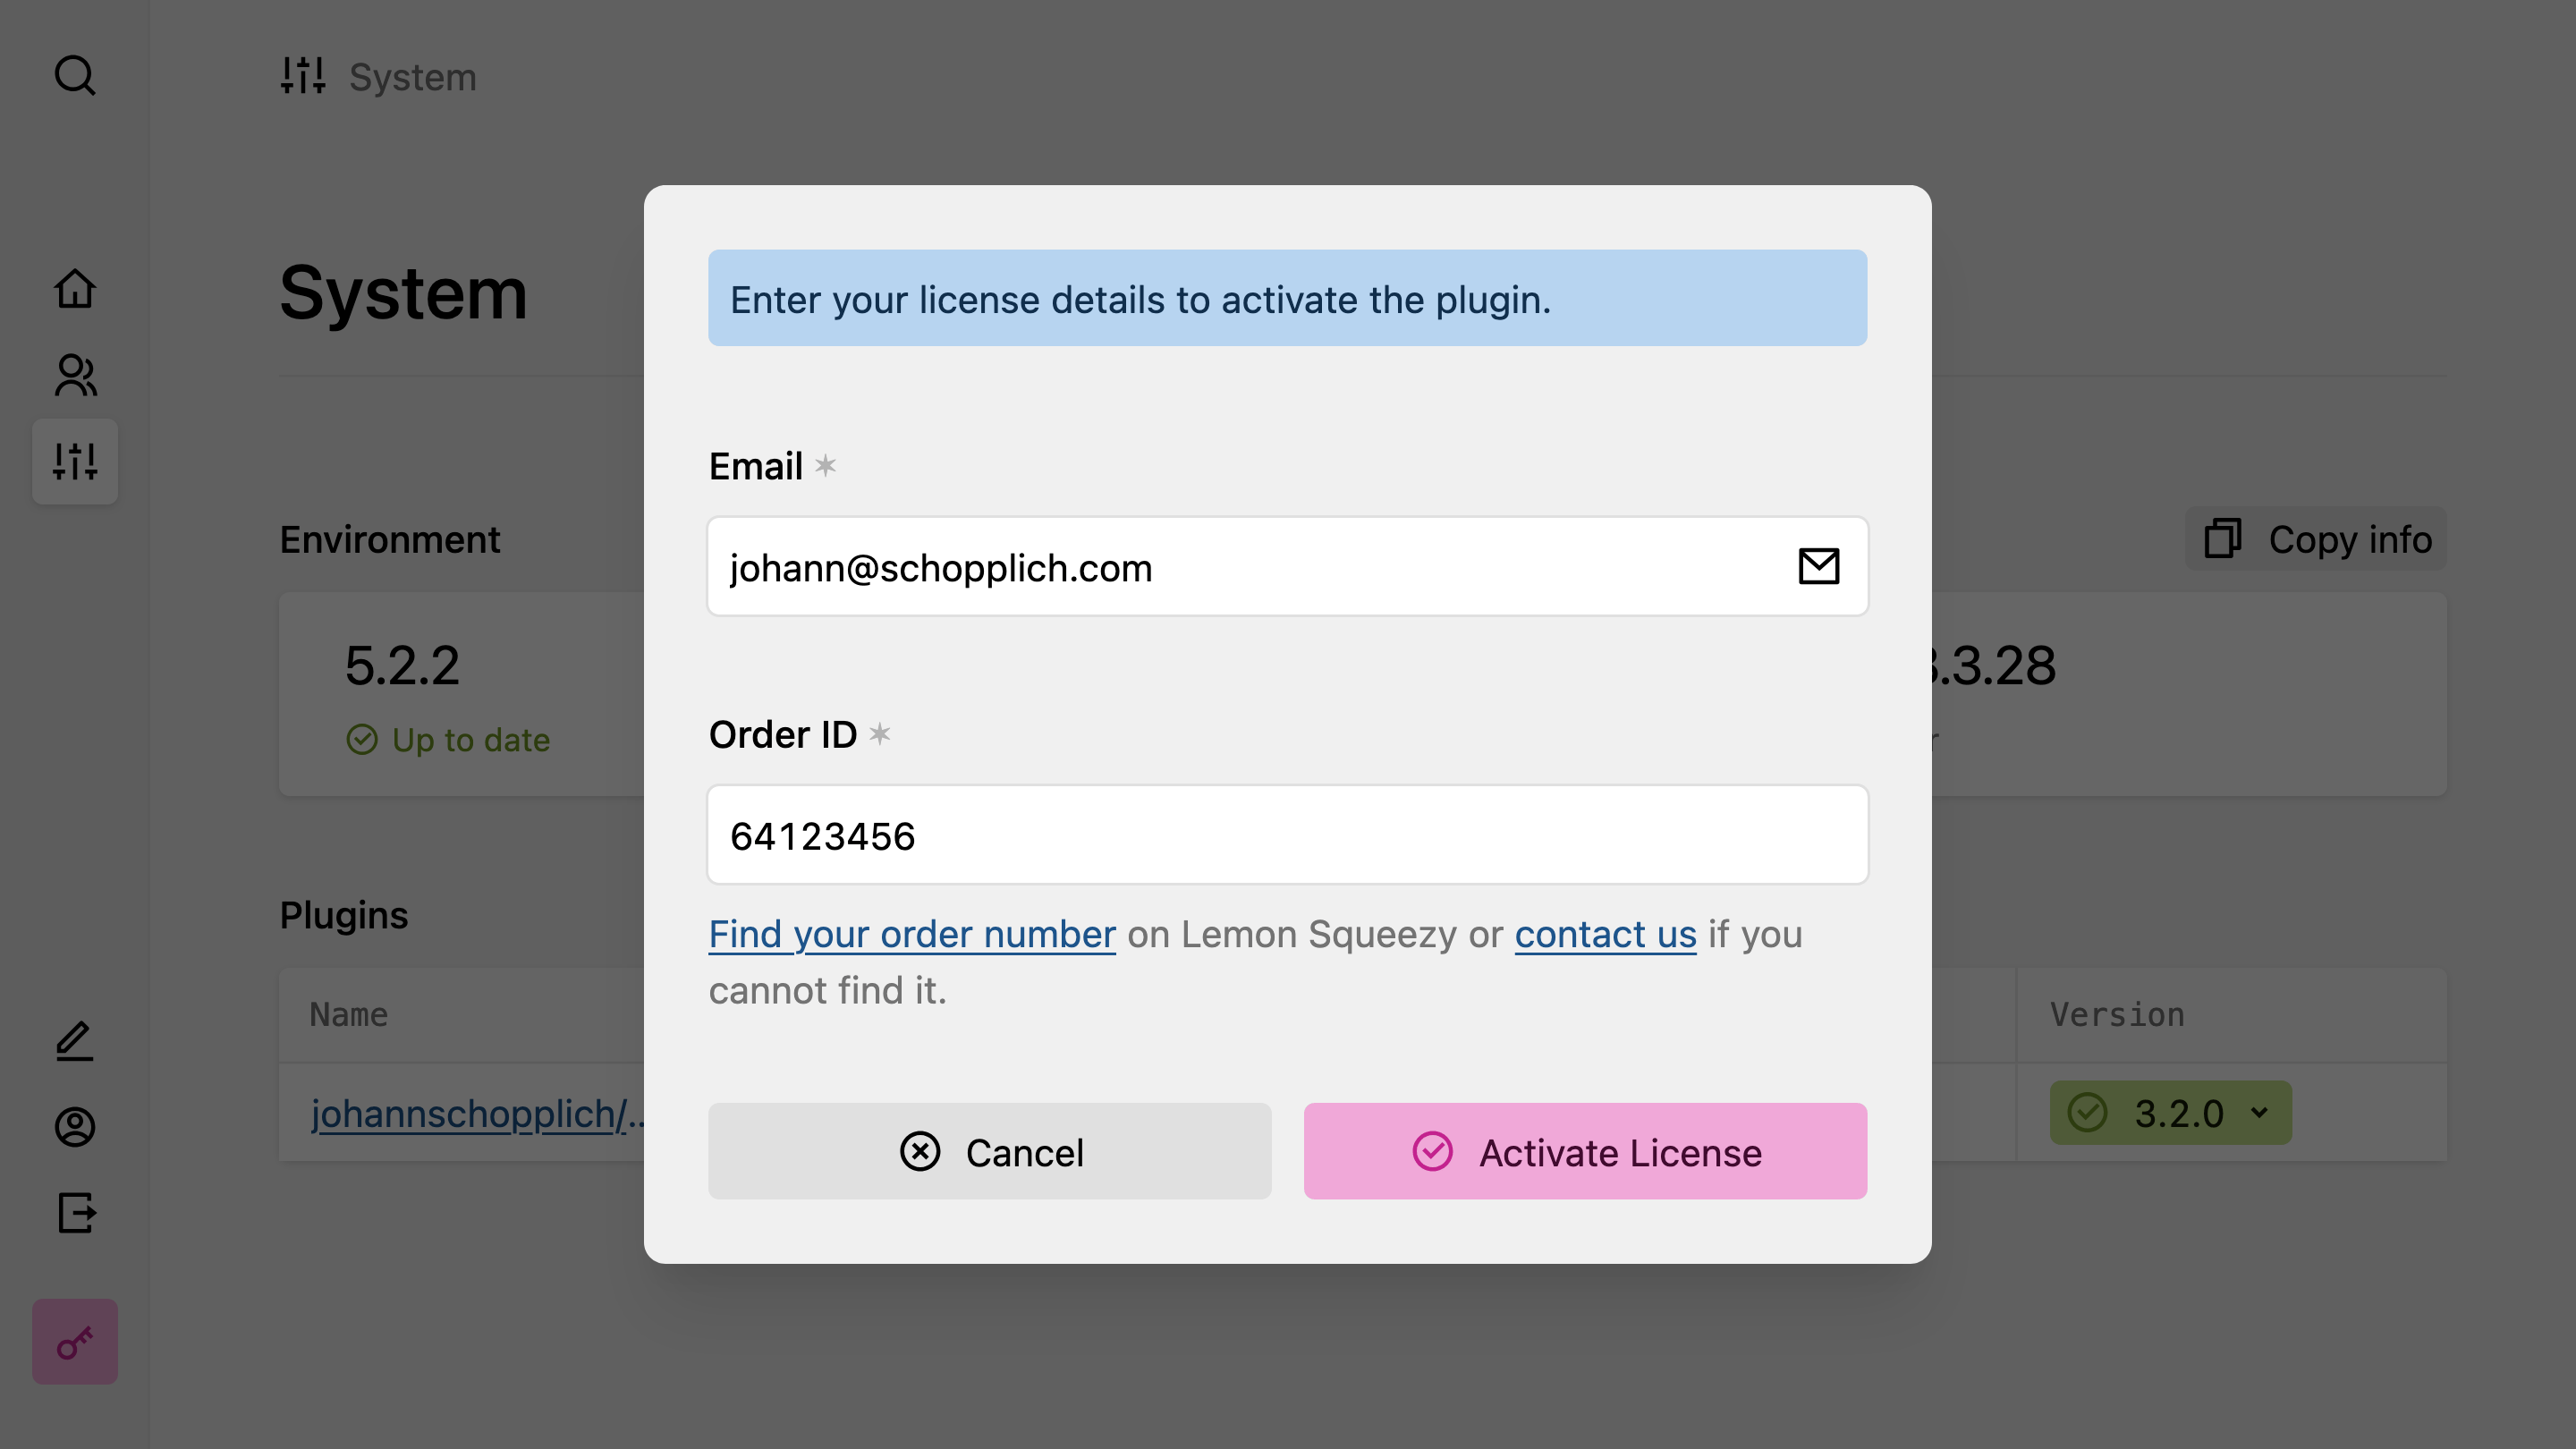
Enter the email you used for the purchase and your license key, then hit the submit button. You will find your license key in your order confirmation email or at [hub.kirby.tools](https://hub.kirby.tools). Done! Thanks for supporting our work. Once you activate your license, the license activation buttons will disappear.
Your license key will be stored automatically in `/site/config/.kirby-tools-licenses`. This file is created on first activation. Make sure to add it to your `.gitignore` to keep your license key private.
---
Every page of this site as Markdown: